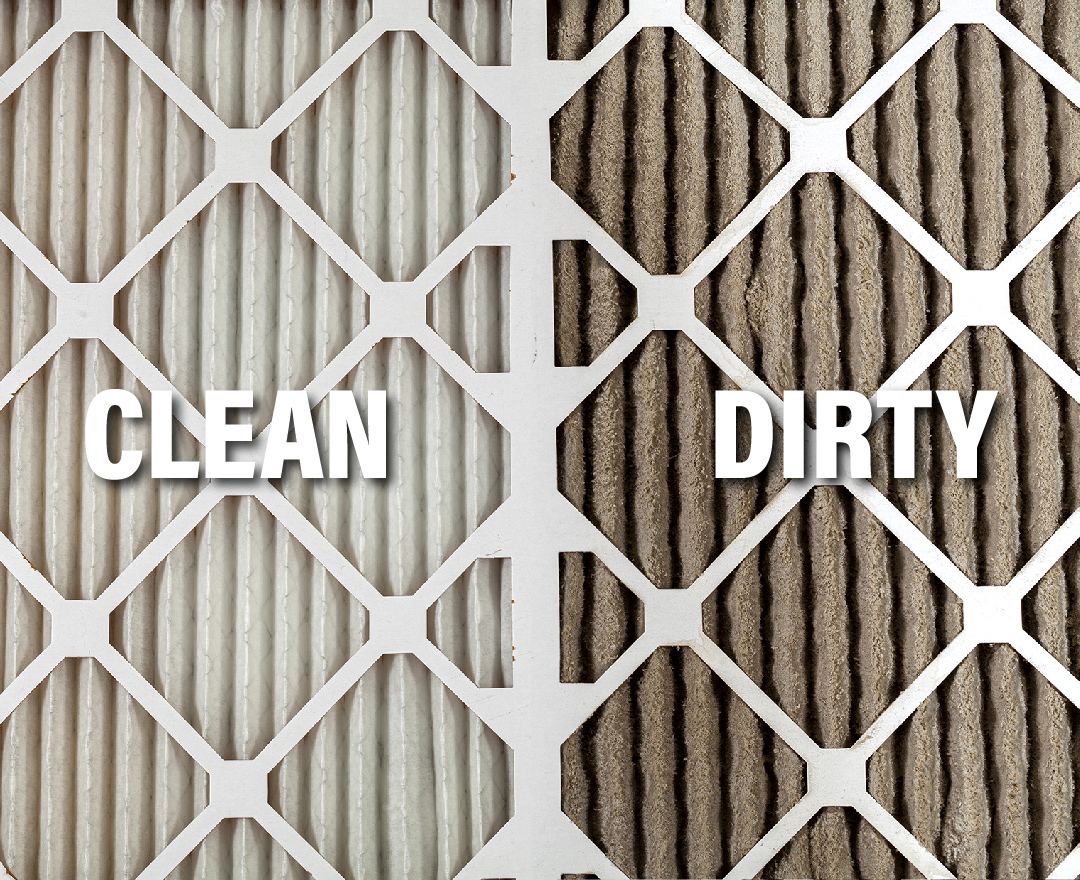
Changing your air filter is an easy task that every homeowner should know how to do. However, there are many people that don’t know how–and that’s okay! There is a lot to learn when it comes to choosing the right filter, how efficient you want it to perform, and how to install it correctly. Here you can learn the filter fundamentals so you’re better-equipped to change out your own filter when the time comes. Changing out a filter starts with figuring out what kind of filter you need to buy.
What Type of Air Filter Do I Need?
First, you need to determine what air filter you need. Filters can be purchased at a Walmart, Lowes, Menards, etc. There is a wide variety that you can choose from, but there are 2 determining factors you should consider.
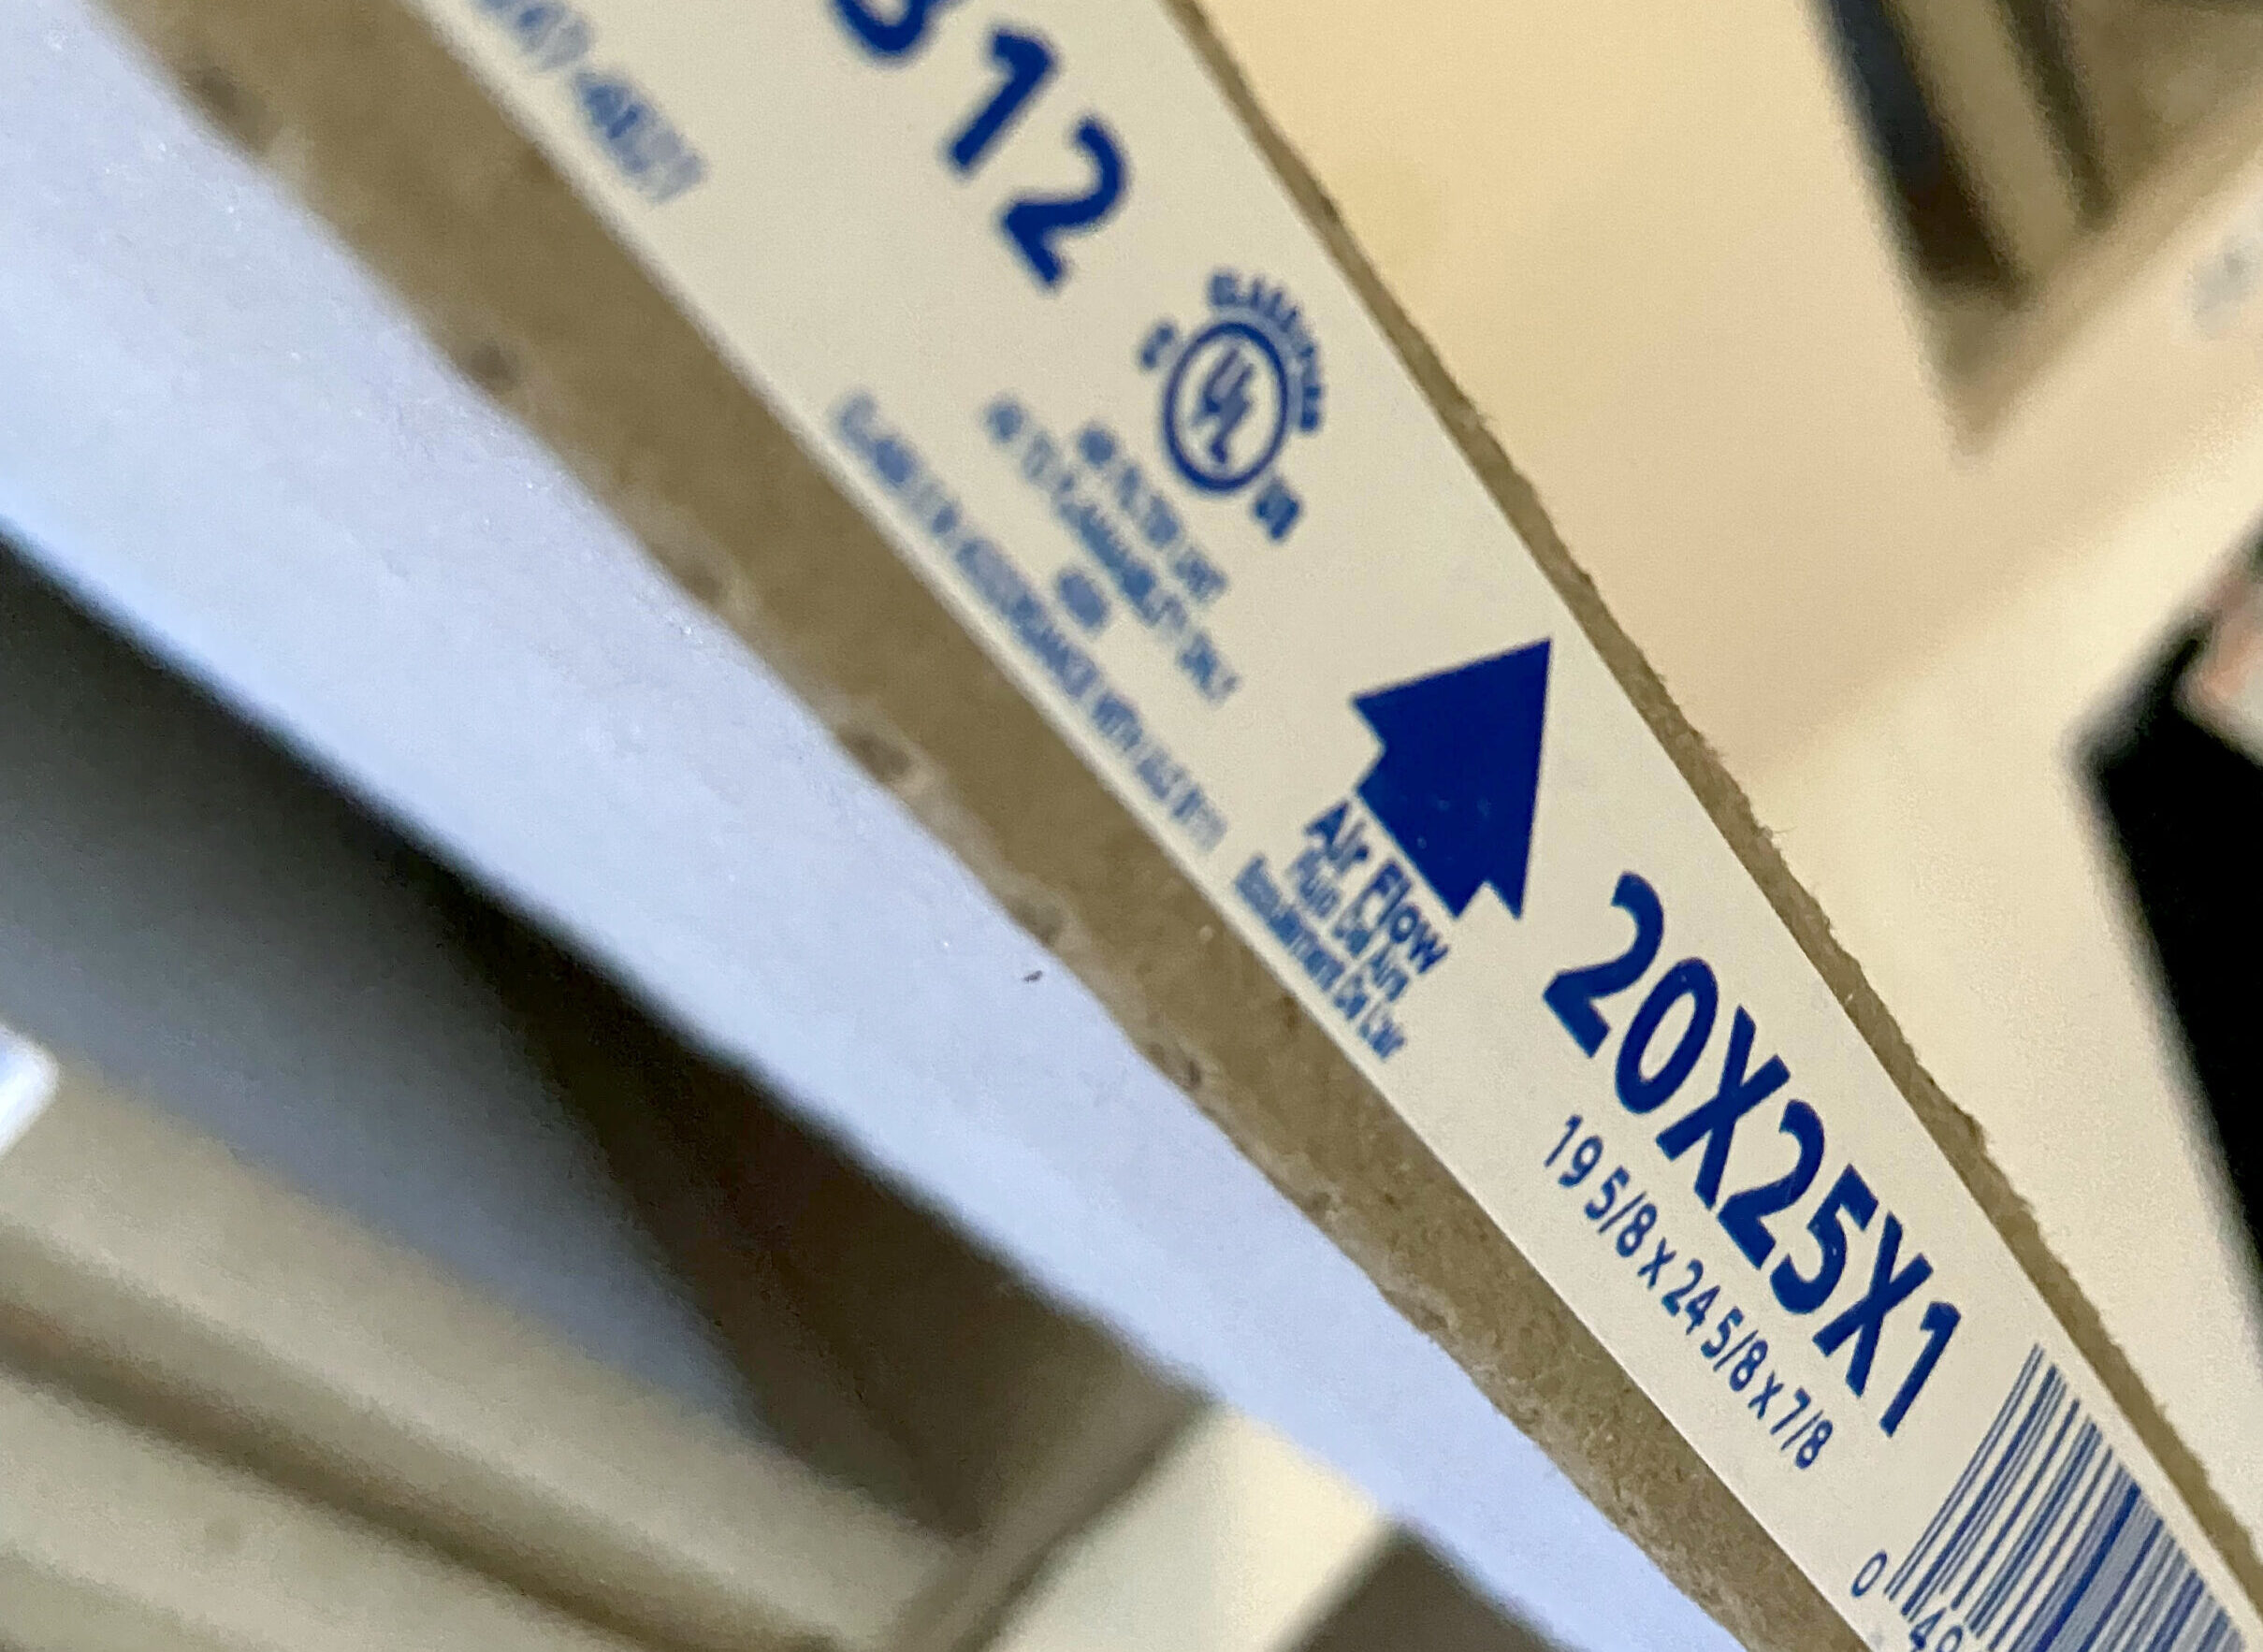
- Size – It is important that you select the right size of filter so that it fits properly. The size should be located on the side of your existing filter. It will look something like 16 x 20 x 1. If no size is listed, you can measure the length, width, and depth of the existing filter.
- Efficiency – How effective do you want your filter to remove particles like allergens, dust, dander, and pollen? This is called a MERV rating, and all filters have them. MERV stands for Minimum Efficiency Reporting Value, and often vary from 1-20. The higher the number, the more efficient the filter is. A common MERV rating in typical commercial and residential spaces is between 5 and 8. Bob Vila’s article on MERV ratings break down the MERV values and what each value provides protection from.
Changing Your Filter:
1. Turn Off HVAC System
First, use the thermostat to turn off the unit. Ensure the air flow has completely stopped before you proceed.
2. Remove Air Filter
Next, remove the existing air filter. It can be located in a variety of places, but are usually close to your system. They are found in a metal box either in a wall, on the ceiling, in the floor, or connected to your HVAC unit. Pop out the mechanism that holds the filter in place and remove the old filter.
3. Inspect Air Filter

A quick filter inspection will allow you to know if it’s ready to be changed or not. Hold the air filter up to the light, and if light passes through it, it’s still fairly clean and may not be ready to be replaced. If the filter is too dirty for light to pass through it, it’s time to change it out. In general, filters should be replaced every 6 months, and even sooner if you have pets. A good rule of thumb is to subtract a month for every pet you have. For example, someone with 2 pets should be changing their filter every 4 months.

The arrow on the side of the filter indicates the air flow. The direction of airflow is from your home, back into the duct exchange. Therefore, when you put the new filter in, the arrow should be facing towards the unit. Lock the mechanism back up.
5. Turn Air Back On
Finally, turn the air back on. The filter change process is complete! You now know the filter fundamentals and can perform your own regular filter changes.
Preventative Maintenance at Poorman’s Heating & Air
Poorman’s Heating & Air not only knows these filter fundamentals, but we perform regular maintenance on your furnace and AC twice a year. 2x/year preventative maintenance for $229. Preventative maintenance is very important for improving the health of your HVAC system and the quality of your air. Check out our blog to see more reasons why preventative maintenance is so important.
